How to Use Housekeeping / Maid Service Software
How to Use our Housekeeping / Maid Service Software & its modules? Purpose & Objectives? Our housekeeping software CRM is used by housekeeping managers and housekeeping companies to handle various maids and clients
1] Customers
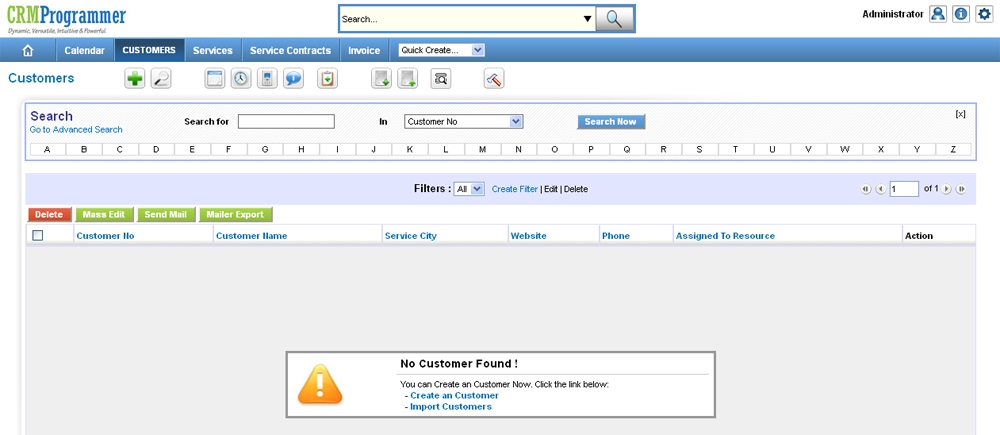
Go to Customers module of our Maid Service Software to add a new Customers in the system. Furthermore, you can also assign these customers to appropriate resources/users.
2] Services
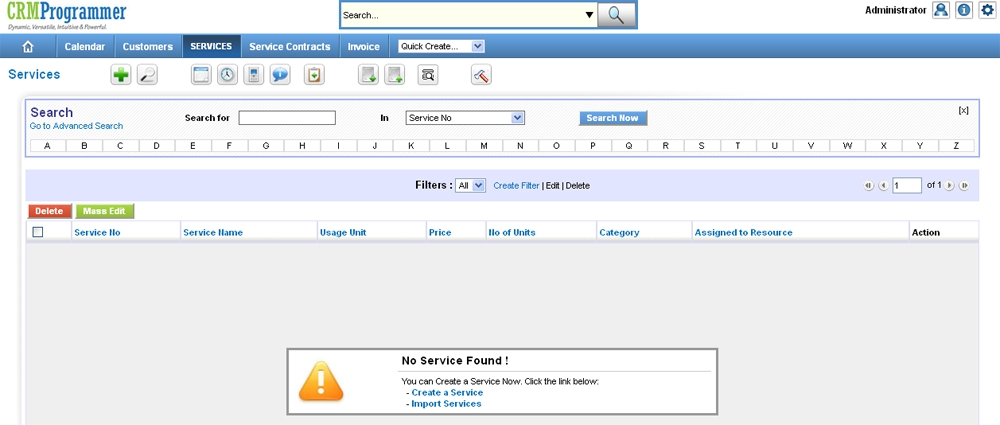
To create all of the services you are offering, select the Services module. Such as cleaning services for homes, offices, factories, events like weddings and parties, etc. However, you can assign these tasks to the available resources you choose.
3] Service Contracts
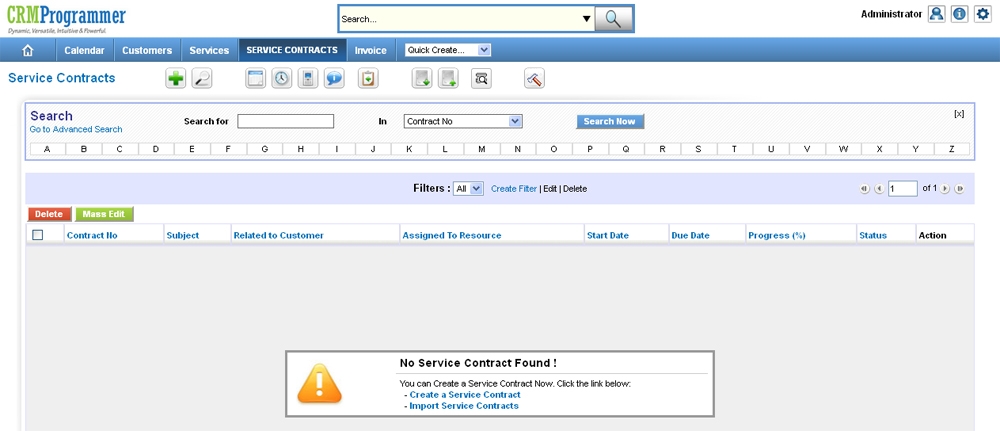
Every time you have a new service to offer your client, you may build a new service contract. Selecting a client while generating a new service contract will associate the service contract to that customer. In order to assign this service contract to a specific resource, choose allocated to Resource User and then click save. You are now on the service contract’s detail view page, which has just been saved. At the right sidebar select the option to export this service contract to PDF or store it to your desktop.
4] Co-relation
A customer, his chosen service, and the service contract will all be related. This means whenever a new customer inquires about hiring a housekeeper, you must create a new Customer in the CRM. You will be on the customer’s detail view page once you save this new entry. After that, you must navigate down the page to the Services tab. Select the triangle symbol next to the Services tab. Then a button labelled “Select Services” may be found in the very top right corner. You can choose the Service that this new customer has requested here. Go to the Service Contract and choose customer under Related to Customer to associate them with each other.
However, the consumer will be connected to the service they have chosen and his service agreement in this way. Returning to the Customers main page, click the newly created customer record option. On this detail view page, you can see the service(s) and service contract(s) related to him.
5] Invoice
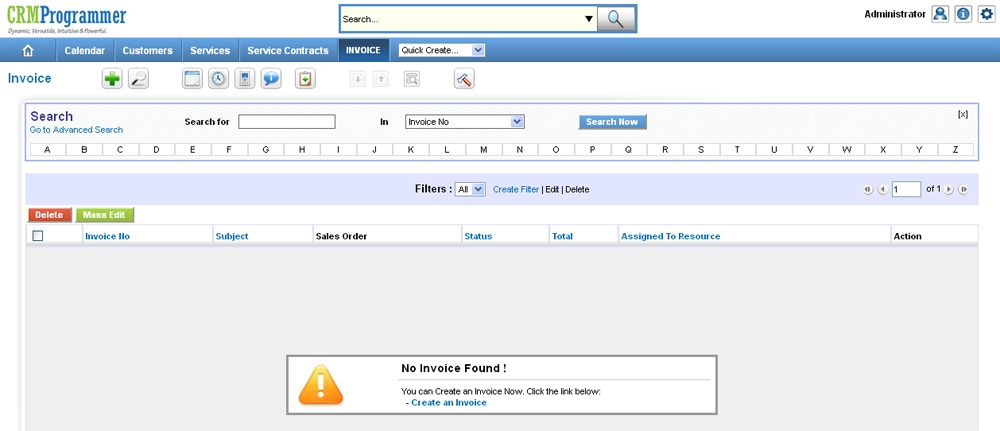
Here, you can make an invoice for a service provided to a client. To link this invoice to a specific client, pick the customer in the Customer Name box. After providing the remaining information required, click Add Service to add the service (s). Additionally, you may enter the amount, pricing, and due date information before clicking “Save.” The option to export to PDF is located in the right sidebar on the invoice detail view page. You may download the invoice by clicking on it and save it to your desktop.
6] Calendar
Select the calendar tab from the main menu bar to see the Add button. Upon mouseover, a drop down will appear. Choose Call by clicking. You may fill out all of your information in the pop-up that appears. A few include Assigned to user, date, time slot, address, payment, and other crucial information. After doing so, select the Related to tab at the base of the pop-up window. Click on the pick button after selecting Customer in the Related To drop-down menu. You can now select the client for whom you are making this event reminder. Select the user or users you want to invite for this event by clicking the Invite tab. Next, select the Reminder tab. Then choose repeat and set the repeat reminders to suit your needs. Then select “Save.”
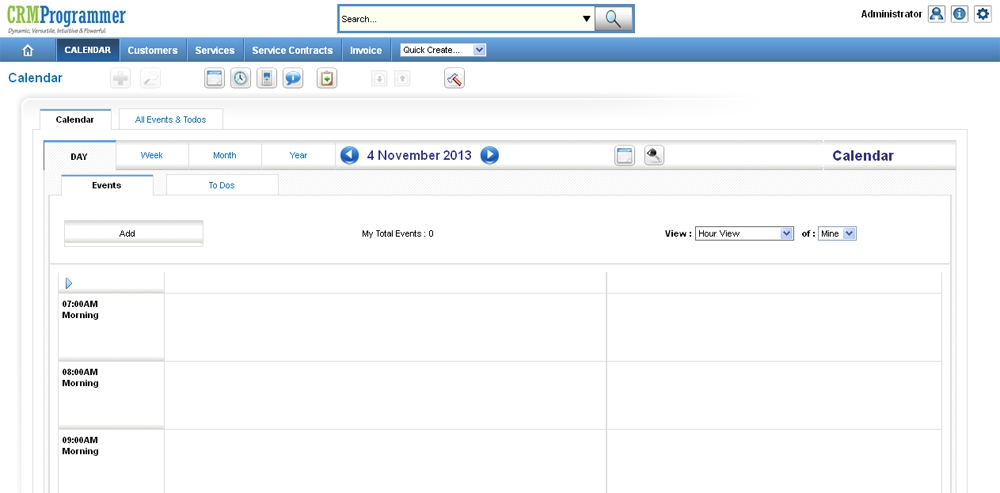
Go to the date that you just made an event for on the calendar today. The newly created event in the designated time slot will be displayed when you click the right arrow. In short, if you choose the Morning slot, your event will appear on calendar under 7:00am to 11:00am slot. Your event will appear on the calendar under 1:00 PM to 5:00 PM if you choose the afternoon option. In the same way, the event for Evening will appear on the calendar under the 7:00pm–9:00pm time slot.
Altogether, you can view the event’s timing and topic in this orange event box on the calendar. By clicking on it, you may see the event page’s detail view. This includes the name of the resource, the event’s venue, and the payment information.
7] Housekeeping Calendar
When using Calendar parallel to Add button and to the right, you will notice ‘View:___of:___’ . Selecting All from these drop-down menus will show you every event that has been assigned to every user. Likewise, by choosing one of their names, you may view events pertinent to that particular individual.